
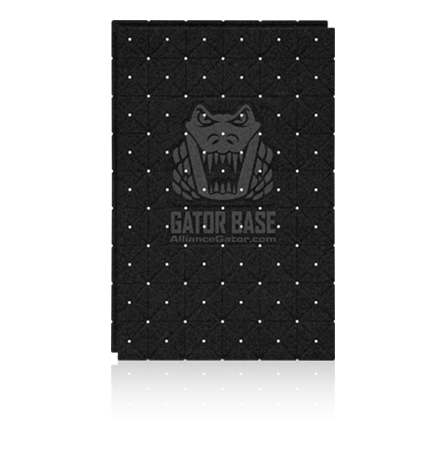
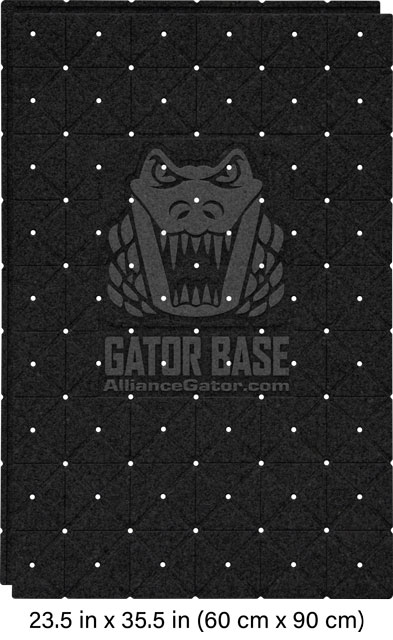
Coverage per Gator Base Unit
Total area 24.25″ x 36.25″= 6.1 sq. ft. / 61.5 cm x 92 cm= 0.566 sq. m.
Usable surface 23.5″ x 35.5″= 5.79 sq. ft. / 59.5 cm x 90 cm= 0.536 sq. m.
| Product | Size | Units per Pack | Units per Pallet |
|---|---|---|---|
| GATOR BASE | 24.25″ x 36.25″= 6.1 sq. ft. / 61.5 cm x 92 cm= 0.566 sq. m. | 10 | 120 |


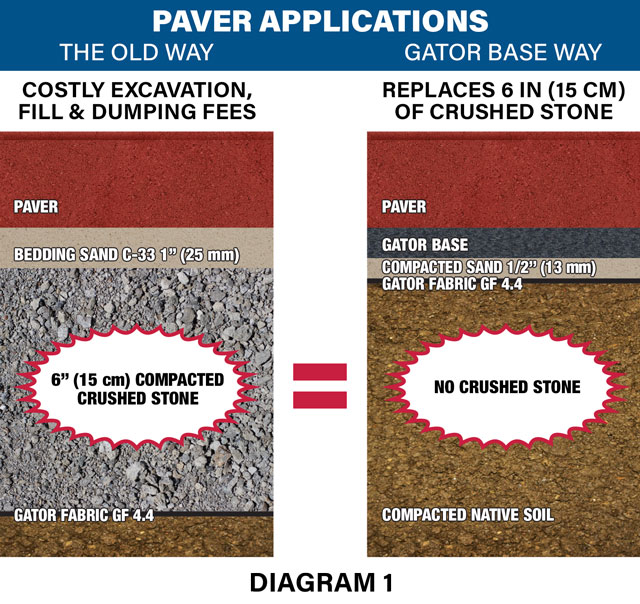
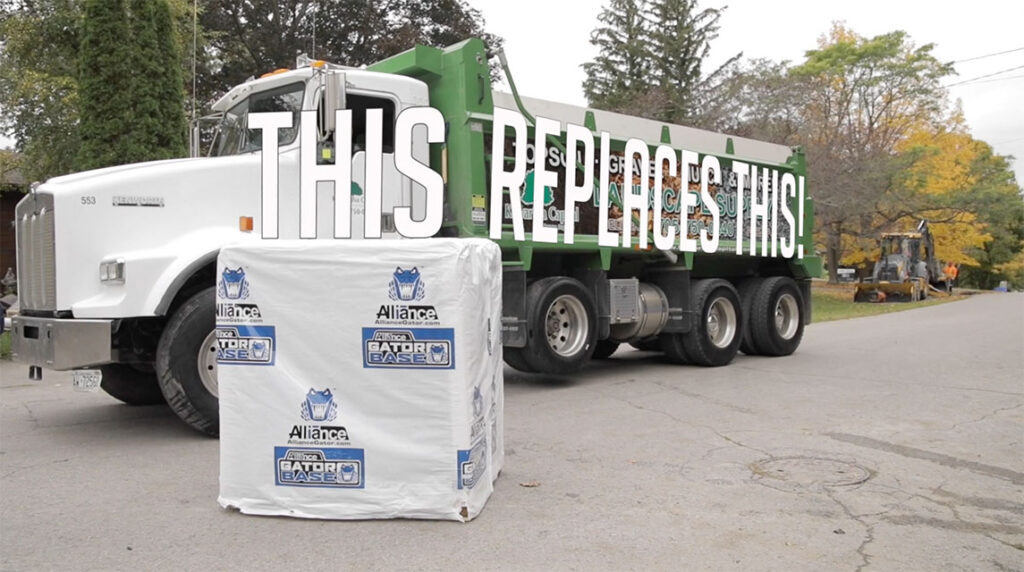
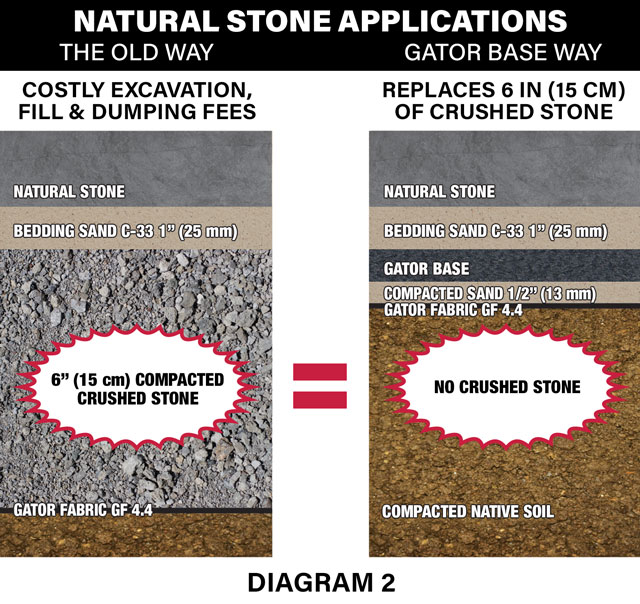
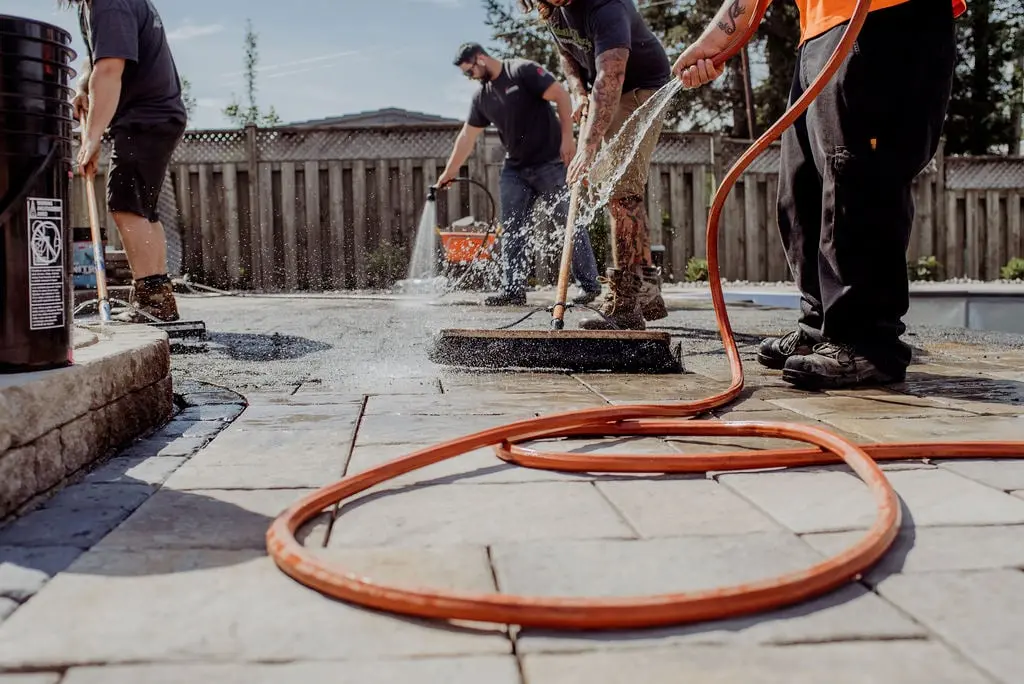
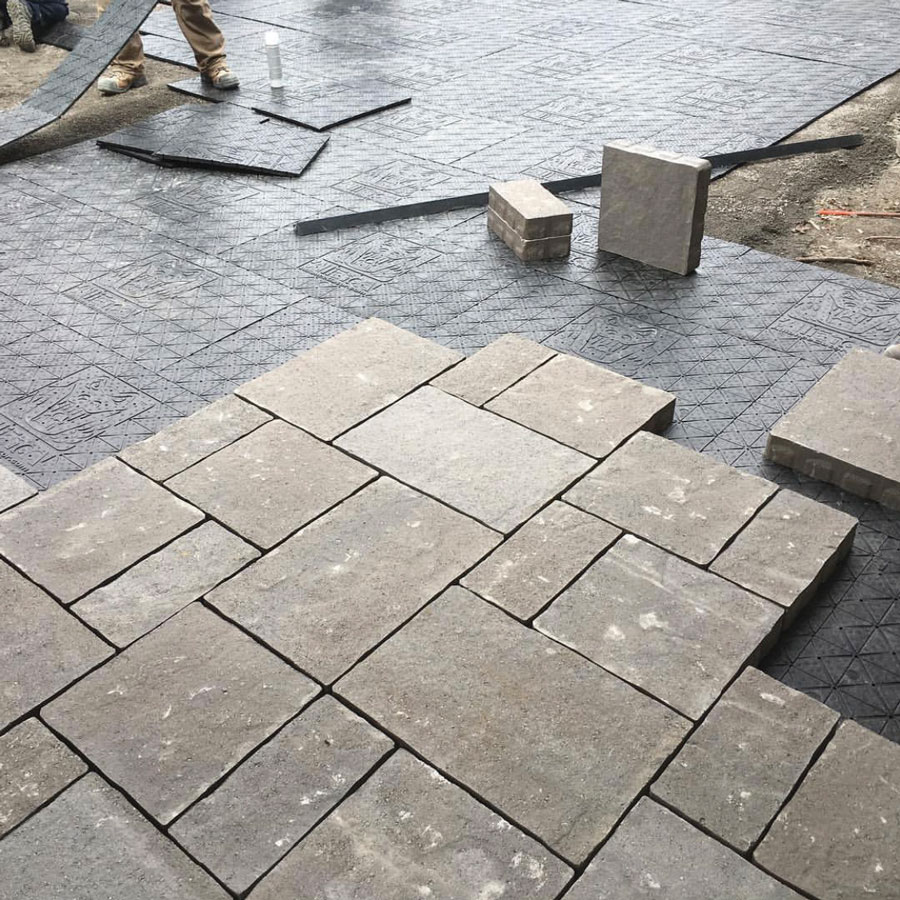
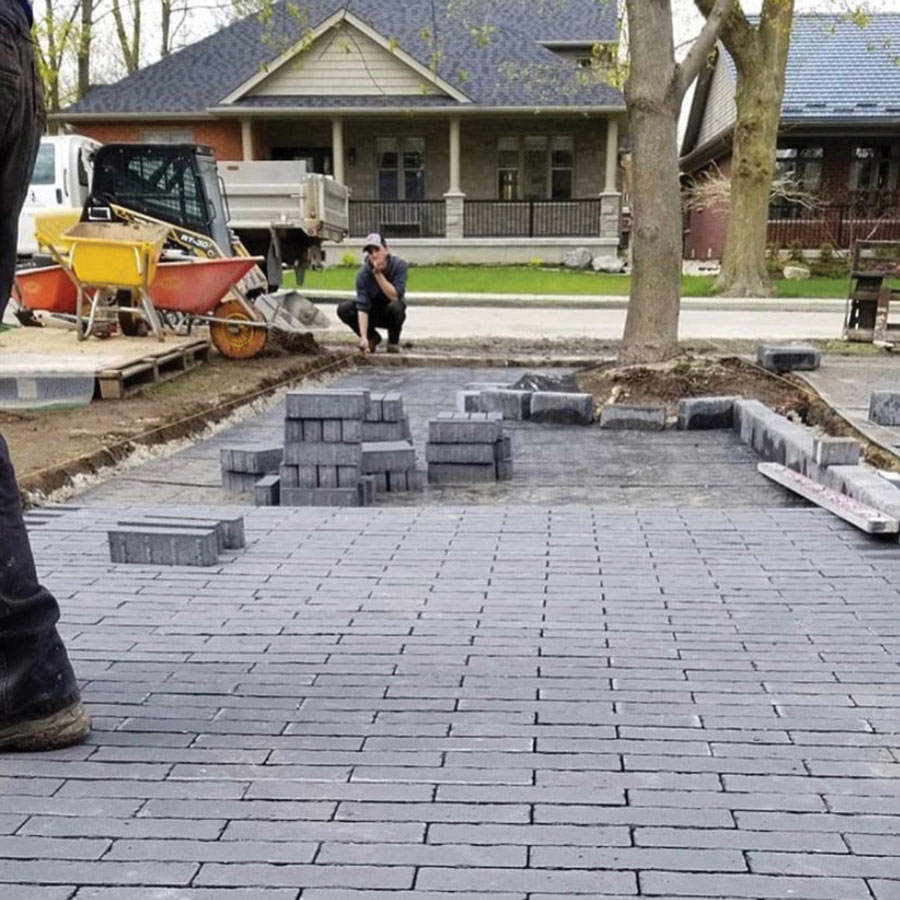
Alliance Designer Products Inc. has introduced to the market a revolutionary technology that will save 20% of time, labor and money when installing concrete pavers, natural stones or porcelain tiles.
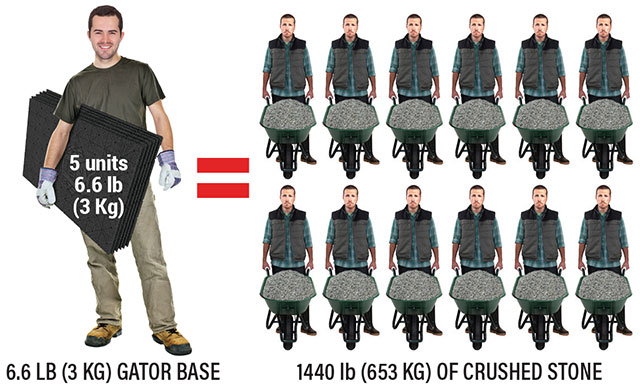
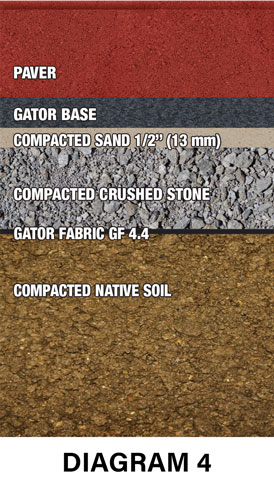
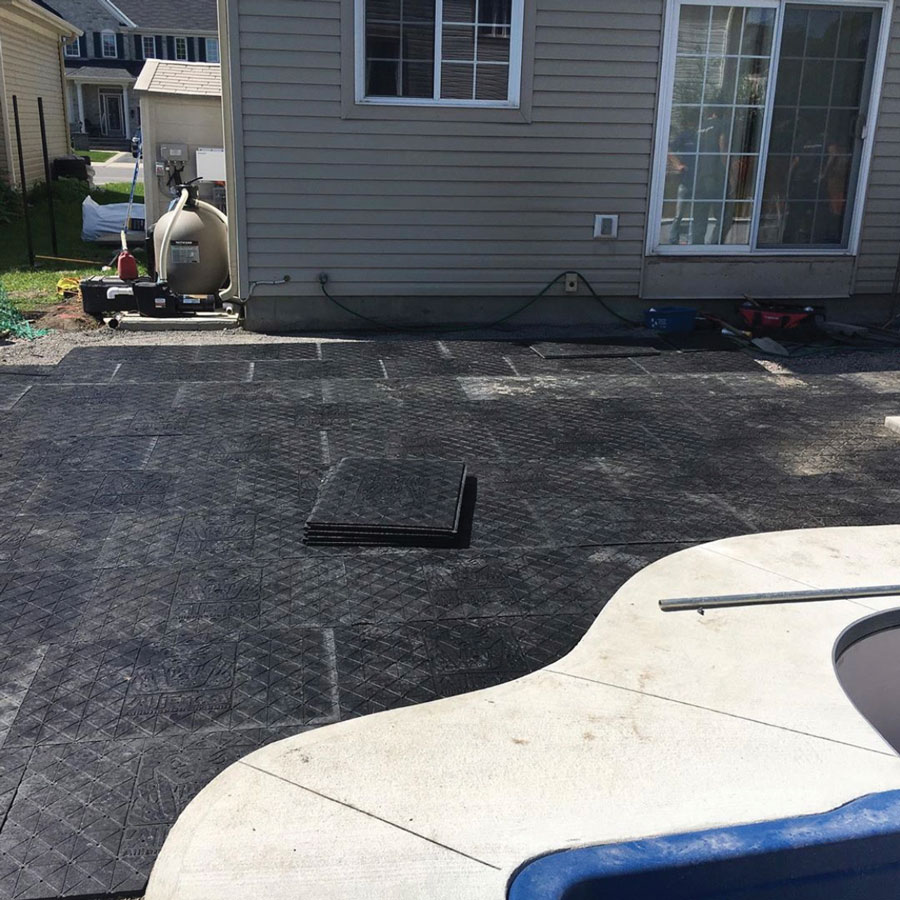
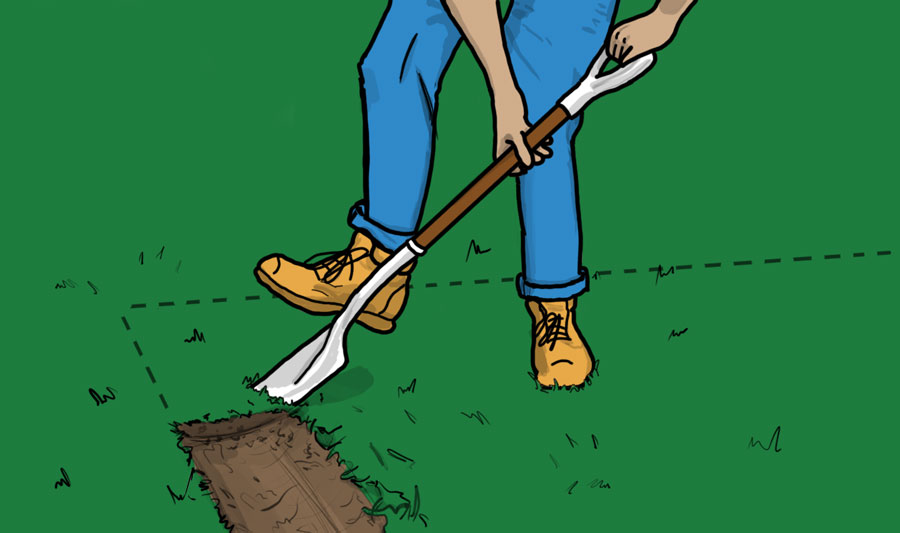
With the GATOR BASE panel, you can save 6″ (15 cm) of extra excavation, long hours for installation and the transportation of tons of aggregate.
This technology exhibits the polypropylene memory characteristics and allows the material to retain its original shape. Alliance Designer Products Inc. is now using this technology in their GATOR BASE panel for the hardscaping industry.
An exhaustive and serious evaluation was made in collaboration with the Université du Québec’s engineering institute (ETS), in the laboratory of their Pavements and bituminous materials department, in order to compare the GATOR BASE panels to a traditional method of paving stone installation with aggregate.
See (University Report tab) for more in depth information.
Conclusions from results obtained by ÉTS* when comparing GATOR BASE system versus traditional granular base system.
*École de technologie supérieure (or ÉTS) is part of the Université de Québec.
Download the University Reports
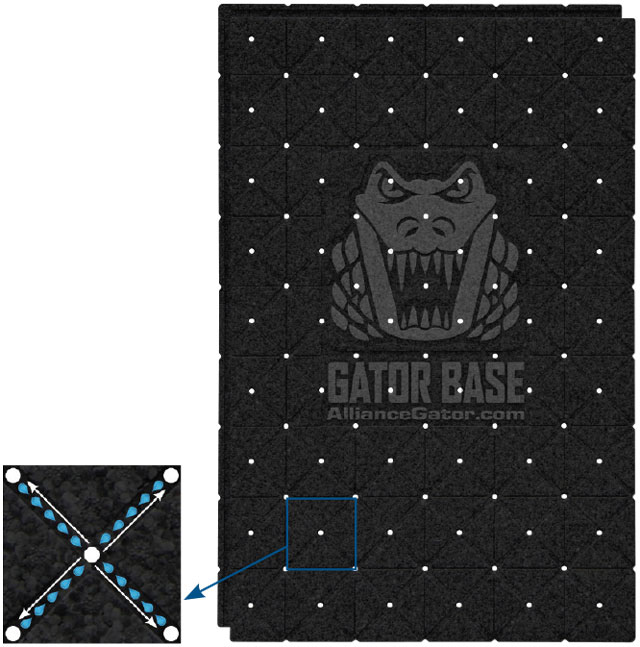
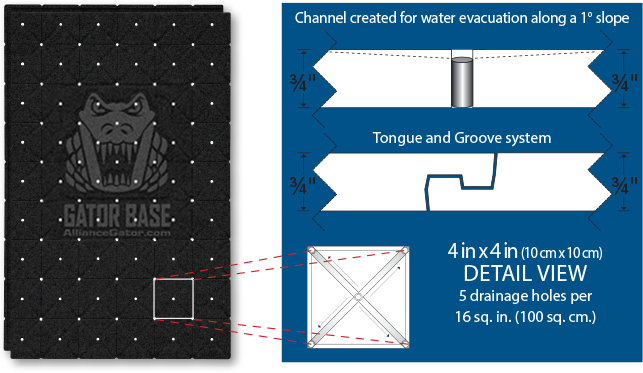
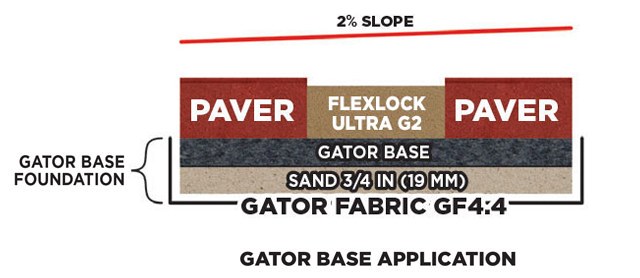
Water evacuation channels
Under License from Brock International Patented and Patents Pending: www.brockpaverbase.com

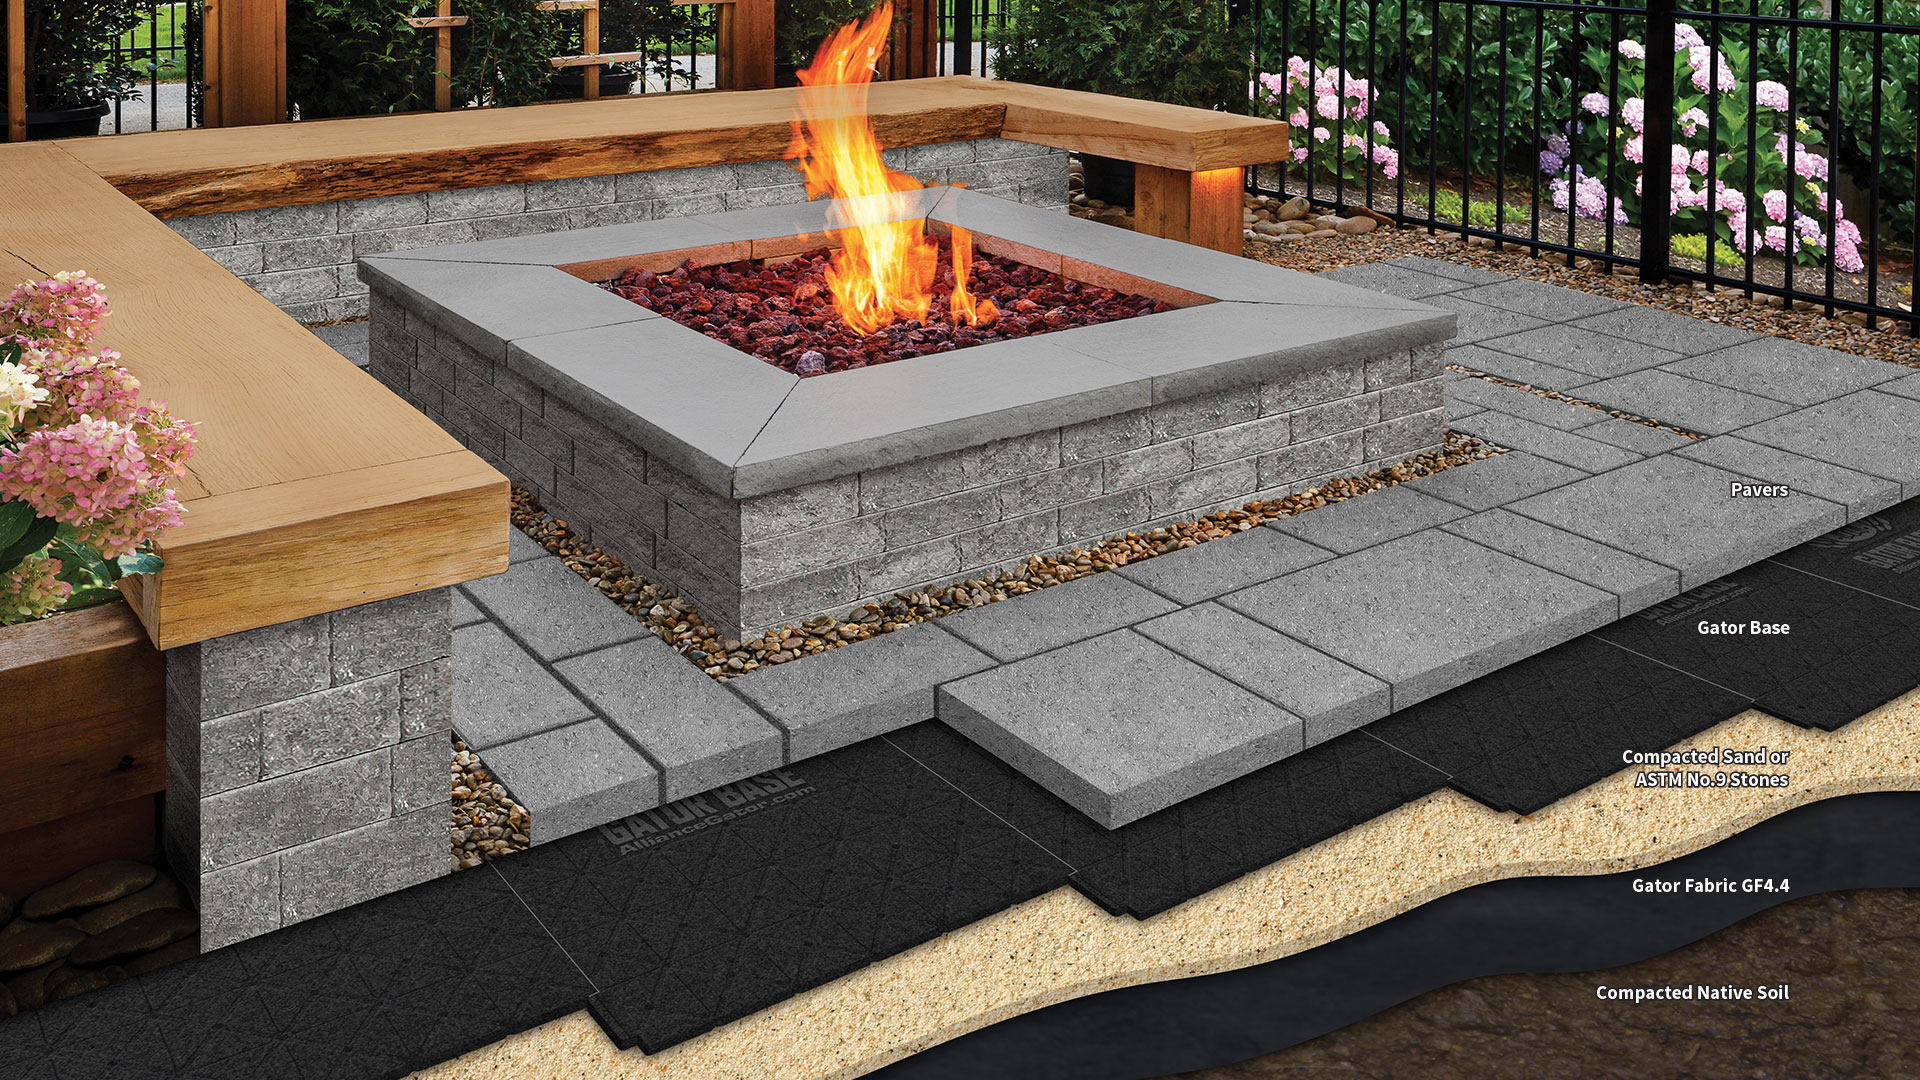
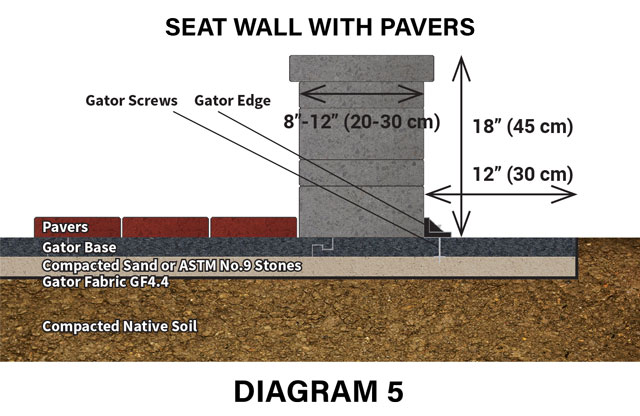
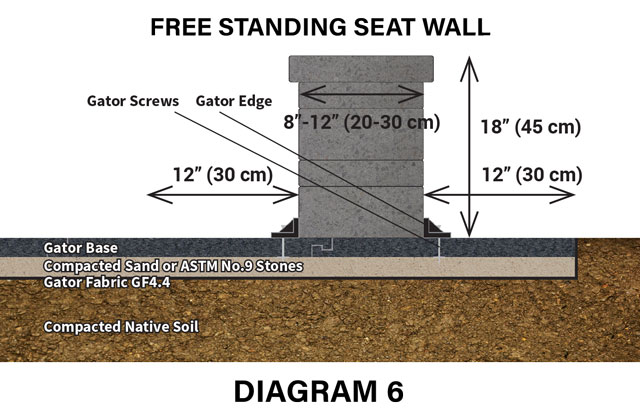
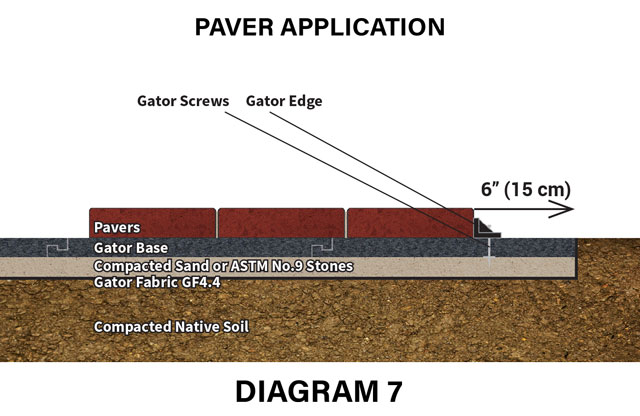
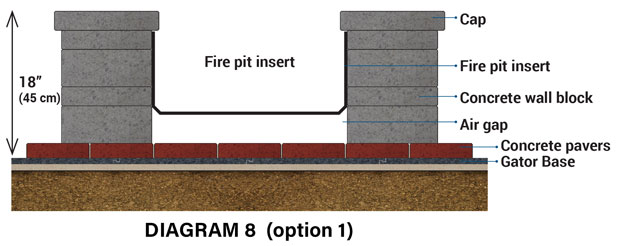
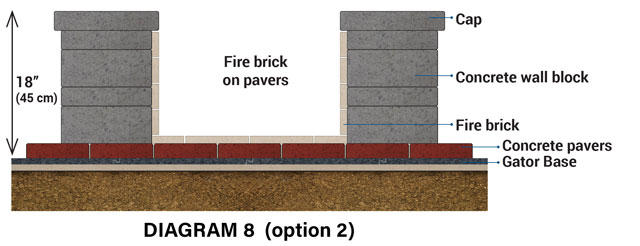
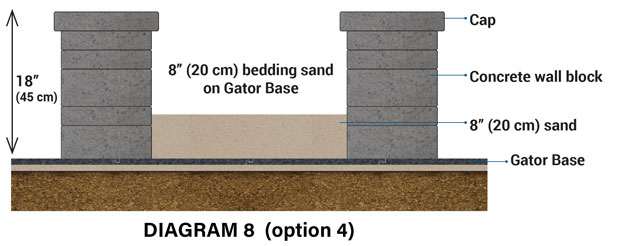
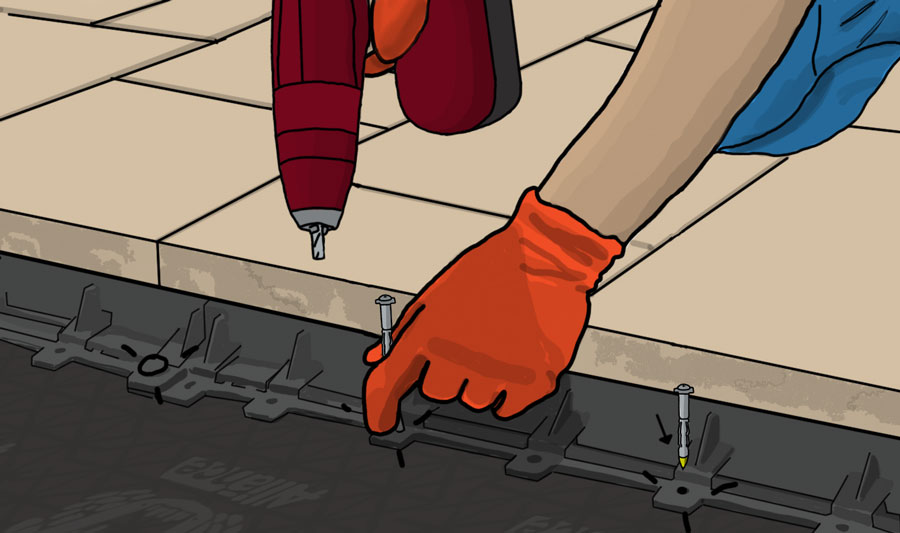
When constructing a seating wall or fire pit, the GATOR BASE should extend the perimeter at least 12″ (30 cm) beyond the outside edge of the blocks (Diagrams 5-6) and 6″ (15 cm) when installing pavers (Diagram 7). Secure the Gator Edge to the sides of the seating wall blocks or pavers with Gator Base Screws at every second hole to prevent any lateral movement. If you are building a freestanding seating wall, the GATOR BASE should protrude 12″ (30 cm) from all sides of the seating walls and secured front and back with Gator Edge and Gator Base Screws (Diagram 6).
